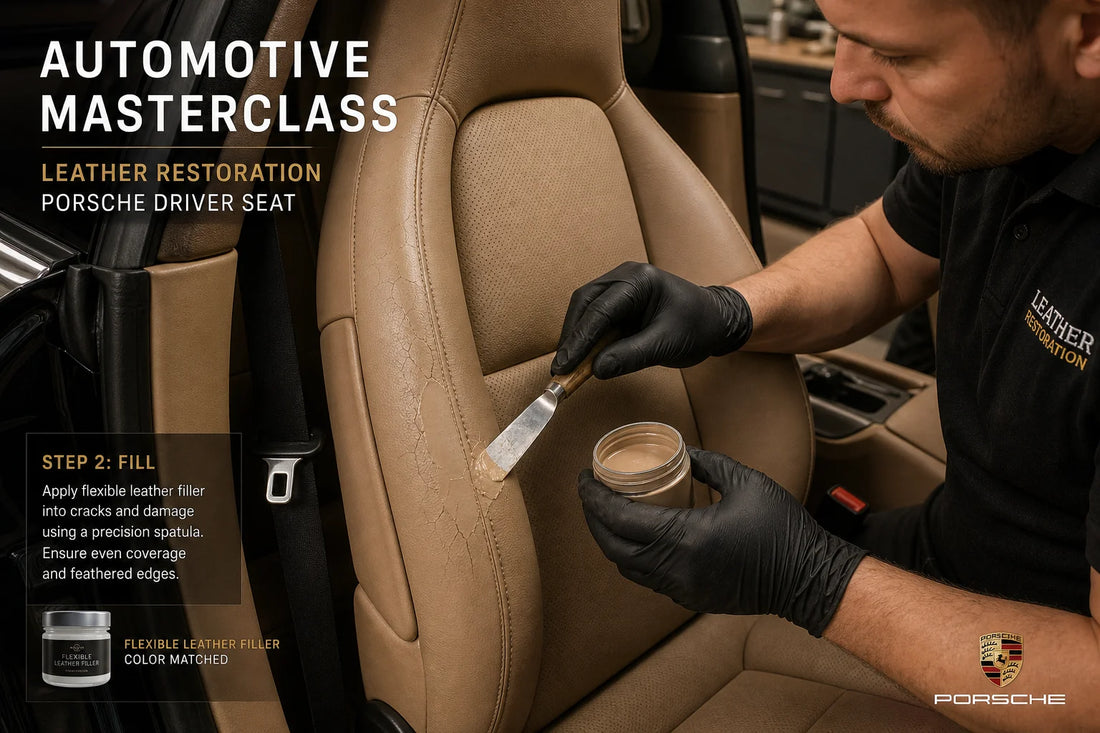
The driver seat left bolster suffers the most friction in daily driving. Here is how you can permanently restore cracked leather at home without taking the seat out.
Step-by-Step Restoration Process:
- Deep Cleaning & Degreasing: Spray the leather prep cleaner onto the damaged area and scrub with a horsehair brush to remove body oils and dirt from the cracks.
- Feather Sanding: Gently sand the edges of deep cracks with 800-grit ultra-fine sandpaper to create a smooth, level transition.
- Apply Flexible Leather Filler: Using the precision spatula, work thin layers of micro-elastic leather filler into the cracks. Allow 15 minutes to dry (or accelerate with a hairdryer on low heat).
- Color Touch-Up: Dab the OEM color-matched coating over the repaired area with a high-density sponge. Blend outward into the surrounding original leather.
- Matte Ceramic Topcoat: Apply the protective finish coat to lock in elasticity, UV resistance, and jean-dye transfer defense.